Linking contacts: guidance for professional users of the get flood warnings service
Updated 25 June 2026
Applies to England

© Crown copyright 2026
This publication is licensed under the terms of the Open Government Licence v3.0 except where otherwise stated. To view this licence, visit nationalarchives.gov.uk/doc/open-government-licence/version/3 or write to the Information Policy Team, The National Archives, Kew, London TW9 4DU, or email: psi@nationalarchives.gov.uk.
Where we have identified any third party copyright information you will need to obtain permission from the copyright holders concerned.
This publication is available at https://www.gov.uk/government/publications/get-flood-warnings/linking-contacts-guidance-for-professional-users-of-the-get-flood-warnings-service
1. Overview
You should use this guide if you have a professional (organisation) login for the Get flood warnings service. You are likely to be an administrator for your organisation’s Get flood warnings account.
Administrators for an organisation can add locations of interest and then link contacts to these. This allows organisations to tailor which flood alerts and flood warnings each of their contacts receive.
You must link contacts to locations they need messages for. They will not receive any flood alerts and flood warnings until this is done.
This document explains how to link the contacts in your professional (organisation) account to locations. Separate guides are available explaining how to add contacts and how to add locations.
2. Contacts overview
To view your organisations contacts, select ‘Users’ from the navigation tabs. This will display the details of your organisation’s users. The red box at the top of the page will give information on:
- any users which are not linked to locations, with links to filter for these users
- how to link to locations
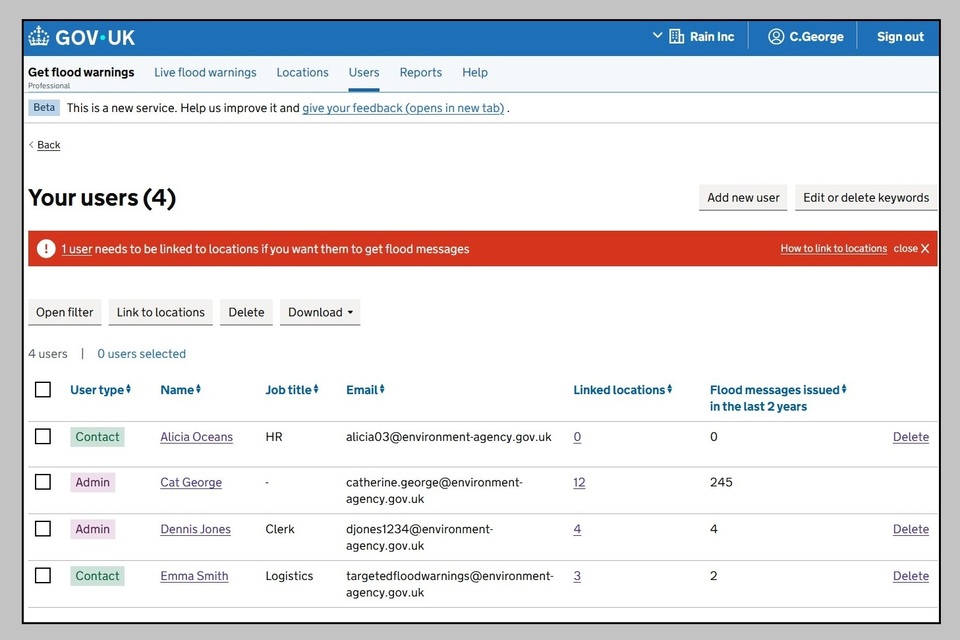
Image 1: Your organisation’s users page. Image courtesy of the Environment Agency.
3. Linking contacts
To link a contact, make sure you are viewing the ‘Users’ tab.
Note: select users individually here if you want them to be linked to different locations. If you want to link multiple users to the same locations, you can select multiple users. Ticking the very top box will select all users on that page.
Step 1: Select the users you wish to link to locations by ticking the boxes next to their names. The number of users you have selected will be shown on the page, for example ‘2 users selected’
Step 2: Select ‘Link to locations’. ‘Link contact to locations’ page is shown showing the number of contacts you are linking.
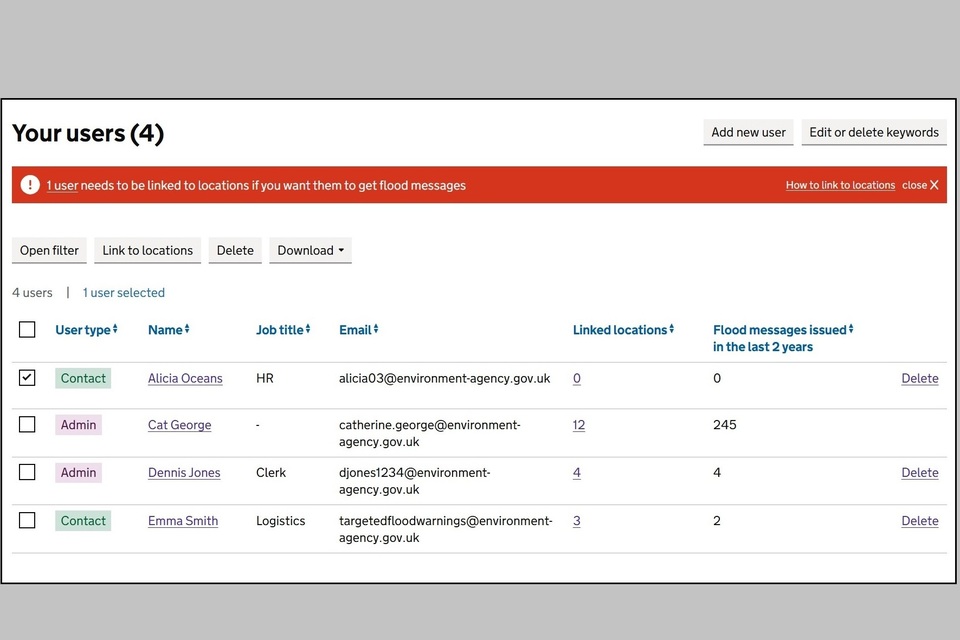
Image 2: Your organisation’s users page with option to link users to locations.
Step 3: Use the tick boxes next to the locations to select which locations to link these contacts to.
Ticking the very top box will only select all locations on that page. If you have more than one page of locations, you will need to repeat this process.
Note: you may wish to use the filter box to assist you where you can filter for categories such as keywords or flood risk, or search by name. To do this:
- select ‘Open filter’
- choose one or multiple filters
- select ‘Apply filters’
- select ‘Clear filters’ to remove selected filters
Step 4: When you have selected the locations you want to link to, you will see a box at the top of the page. This shows the number of contacts and locations you are linking. You should check this is correct.

Image 3: Link contact to locations page summary showing what you are linking. Image courtesy of the Environment Agency.
Step 5: When satisfied with your selections select the ‘Link user to locations’ button. When linking is complete a success message will appear.
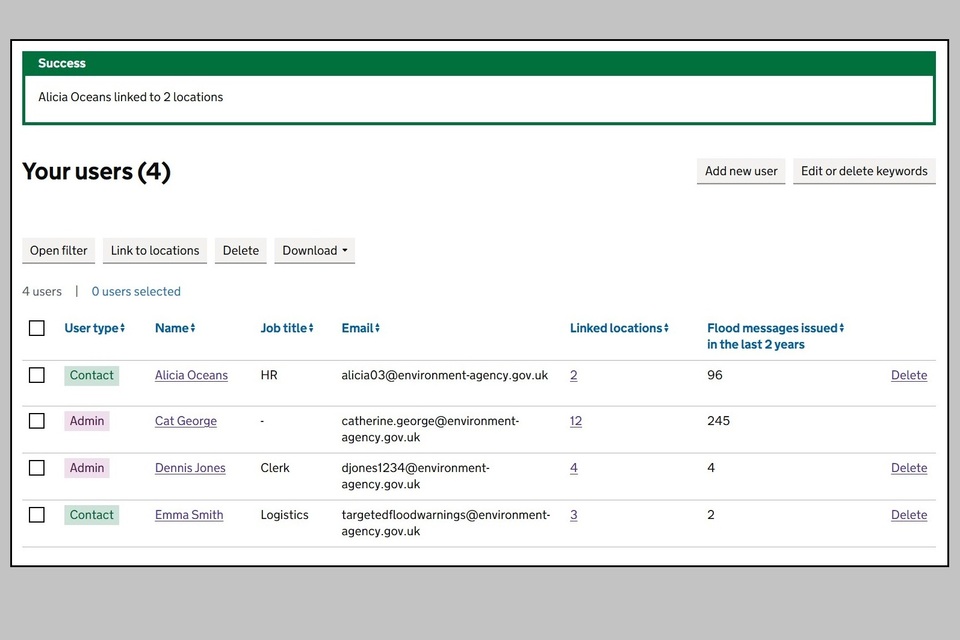
Image 4: Success message showing contacts linked to locations. Image courtesy of the Environment Agency.
Step 6: The details for your users on the ‘Users’ tab will show the number of locations they are linked to. Selecting the number of linked locations will take you to a list of these locations.
4. Unlinking contacts
To unlink locations from a contact, navigate to the ‘Users’ tab and select the ‘Linked locations’ for the individual user.
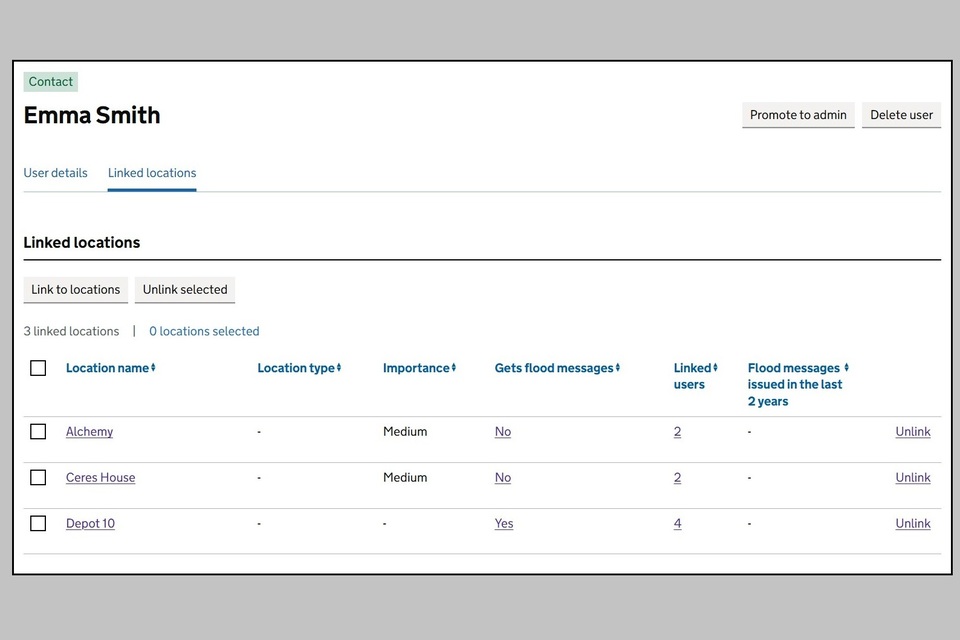
Image 5: Linked locations page per user. Image courtesy of the Environment Agency.
From the linked locations page you can unlink locations individually. Do this by selecting the ‘Unlink’ next to a single location. To unlink multiple locations, select multiple locations as required by ticking the boxes and then selecting ‘Unlink selected’.
A success message will be displayed showing how many locations were unlinked.

Image 6: Success message showing unlinked locations. Image courtesy of the Environment Agency.