Create a public search and request office copies
Updated 22 November 2021

© Crown copyright 2021
This publication is licensed under the terms of the Open Government Licence v3.0 except where otherwise stated. To view this licence, visit nationalarchives.gov.uk/doc/open-government-licence/version/3 or write to the Information Policy Team, The National Archives, Kew, London TW9 4DU, or email: psi@nationalarchives.gov.uk.
Where we have identified any third party copyright information you will need to obtain permission from the copyright holders concerned.
This publication is available at https://www.gov.uk/government/publications/how-to-use-the-hmcts-e-filing-service/create-a-public-search-and-request-office-copies
1. Before you start
Before using this guide, please visit our main guidance page on the HMCTS E-Filing service for citizens and professionals. This explains:
- what the E-Filing service is
- what you need to know before you start
- what happens after you have submitted a filing
- other ways to submit filings (if you cannot use the E-Filing service)
- how to get further advice and support
For each office copy document you request, you will need to pay a £11 fee.
How far back you can search depends on the jurisdiction. If you want to search before these dates, you will need to apply for a search by contacting the relevant court or tribunal:
- Business and Property Courts (London only): 1 January 2016 (for new cases)
- King’s Bench Claims and Appeals (London only): 5 November 2018
- Business and Property Courts (outside of London): 25 January 2019
You will only be able to see case events and documents for which a non-party is entitled to request an office copy.
There may be more information on the file than you would expect to see. For example, if you are searching specifically for the filing particulars of a claim, and that has exhibits within the same document, you may also see the exhibits.
Parties to a claim cannot see when a public search has been made, or who has made it.
If you experience any technical issues, please email efilesupport@justice.gov.uk.
If you already have an E-Filing account, you will not need to create a new account and can go to section 3.
2. Create an account and log in
1. Visit the E-Filing service public search user login page and select ‘Register as a Public Search User’.
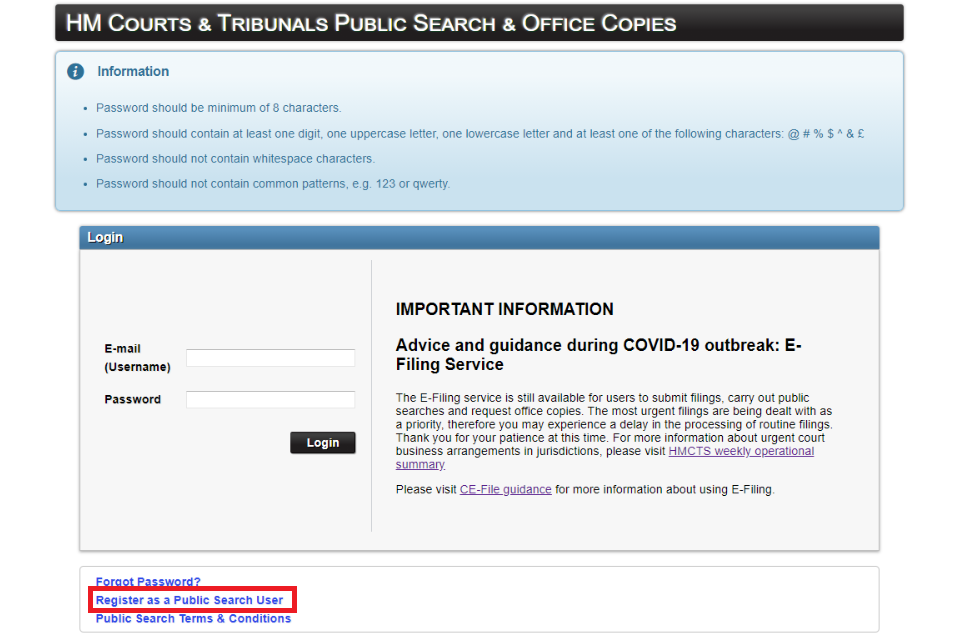
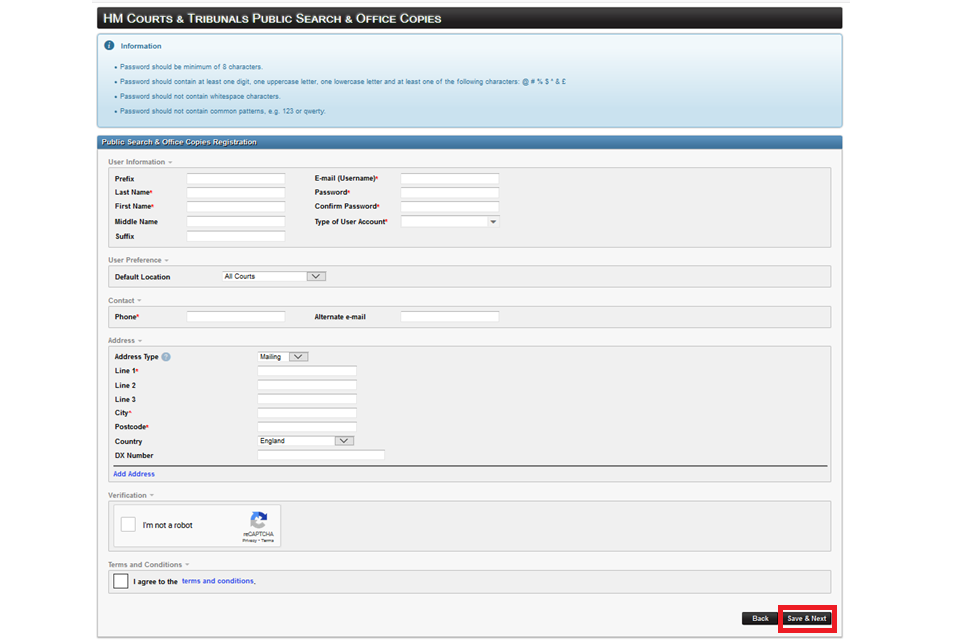
2. Complete the registration form using your email address as your username. There is guidance on the screen for creating your password. Select ‘terms and conditions’ to understand how HMCTS use your data.
3. If you are representing yourself choose ‘Other’ in ‘Type of User Account’.
4. For ‘Default Location’ the options are ‘All Courts’, ‘London Courts’ or ‘Outside of London Courts’. Choose ‘All Courts’.
You can change this later by clicking on your name in the homepage heading bar and selecting ‘My Account’. You will be able to edit your information in the same way as the registration form.
5. Once the form is complete select ‘Save & Next’.
6. A confirmation message will appear when your account is created. You will also receive an email.
7. Follow the link in the email to go back to the login page. If you have not received the email, please check your junk folder. If it’s not in there, please contact efilesupport@justice.gov.uk.
8. Enter your email address (username) and password and select ‘Login’. If you forget your login details, please select the forgot password link underneath the login page and follow the instructions provided.
9. When you have logged in, you will see a homepage where you can customise your dashboard.
10. If you enter your password incorrectly, your account will lock. You must wait 2 minutes before you can log back in. You can reset your password from the login screen.
3. Search for a case
1. To start a public search, select ‘Public Search’ and then ‘Public Case Search’.
2. In ‘Search Type’ you can choose to search by either ‘Case’ or ‘Party/Participant’
3. Type or select the relevant search criteria from the rest of the form and select ‘Search’. Your search results will appear in a table beneath the form.
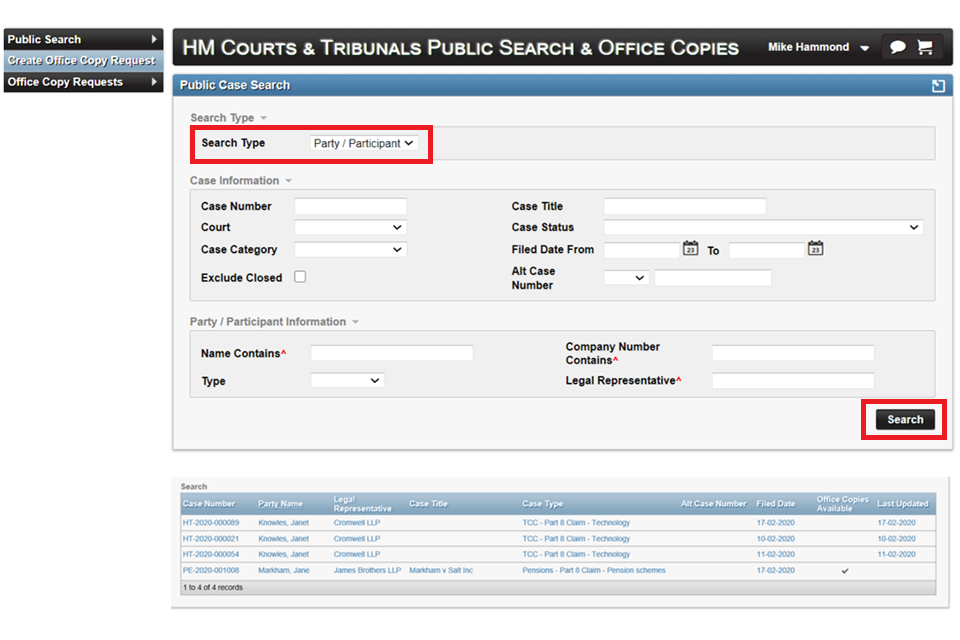
You can sort your results by selecting the ‘Case Number’ or ‘Party Name’ column heading. If office copies are available, you will see a tick in the corresponding column
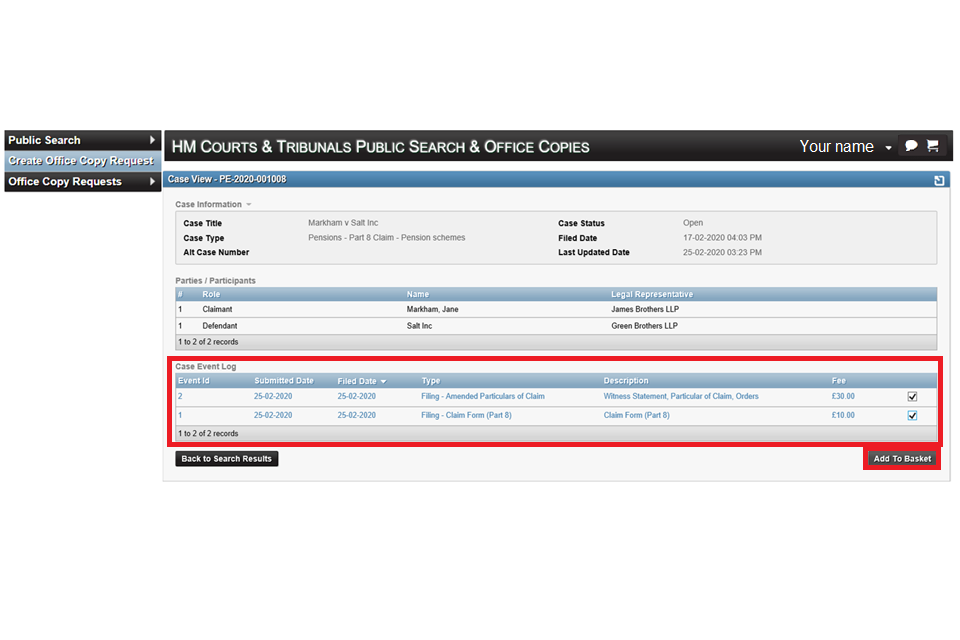
4. Select the case that you want to review by clicking anywhere on its row.
5. The case will load in a new screen. This will include a ‘Case Event Log’ that will list any case documents, or sets of documents, and the fees for purchasing them.
3. Request office copies
1. Select each document that you want to request copies of by checking the tick box at the end of its row. Then select ‘Add To Basket’.
2. You can then select ‘Back to Search Results’ to choose another case and add more documents to the basket. You can also run another search to add more documents. When all your documents are in the basket, select the trolley icon to see your basket.
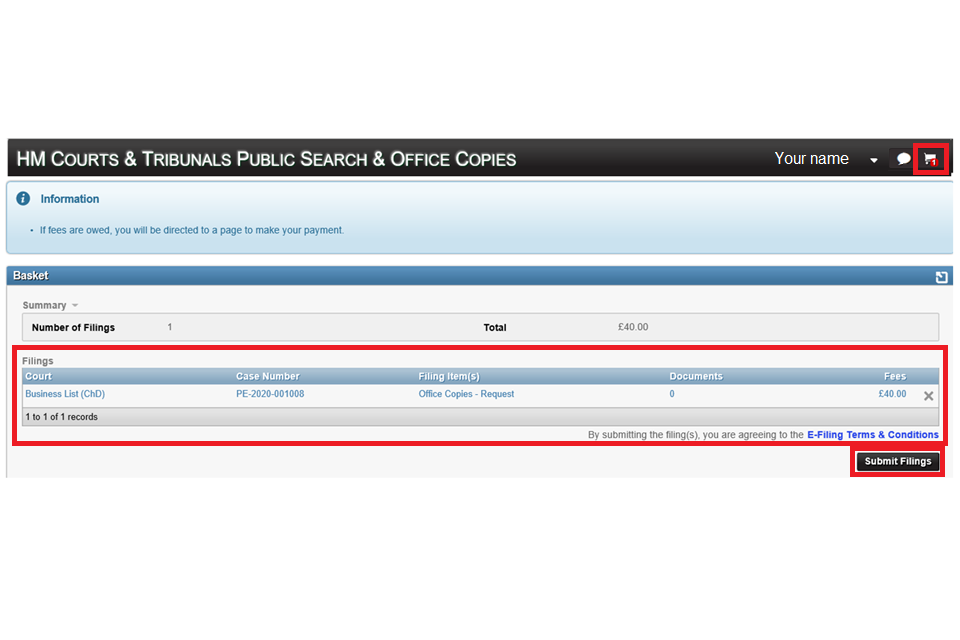
3. Review your purchases to check that you have added everything and then select ‘Submit Filings’.
Pay the fee
Once you have submitted your request you will need to pay the fee.
If you are a solicitor acting on behalf of a client, you can pay using an HMCTS Payment by Account (PBA) number.
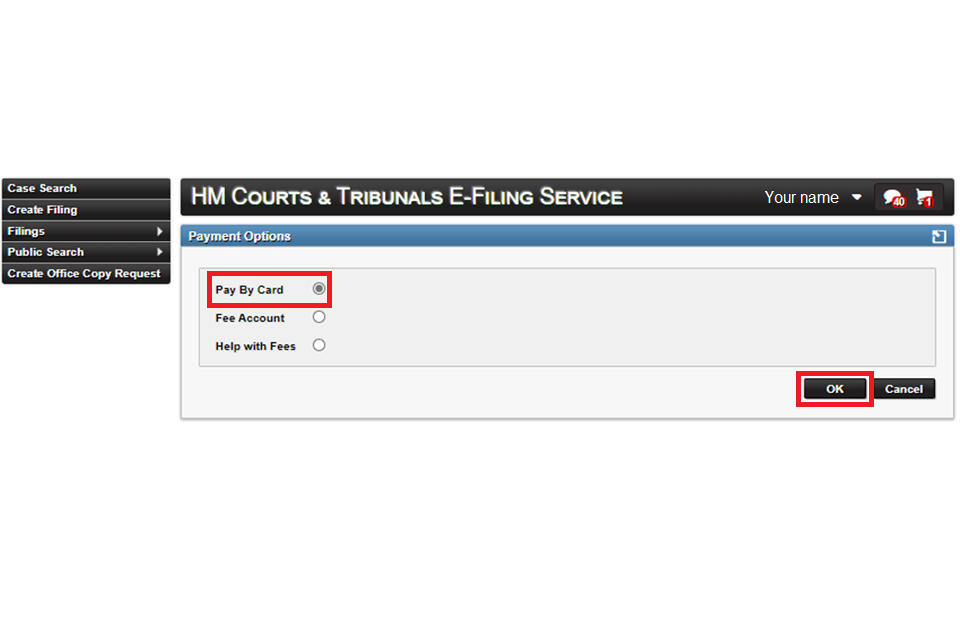
If you are a litigant in person (a citizen not represented by a solicitor), you can pay by credit or debit card:
1. Select ‘Pay by Card’ and ‘OK’.
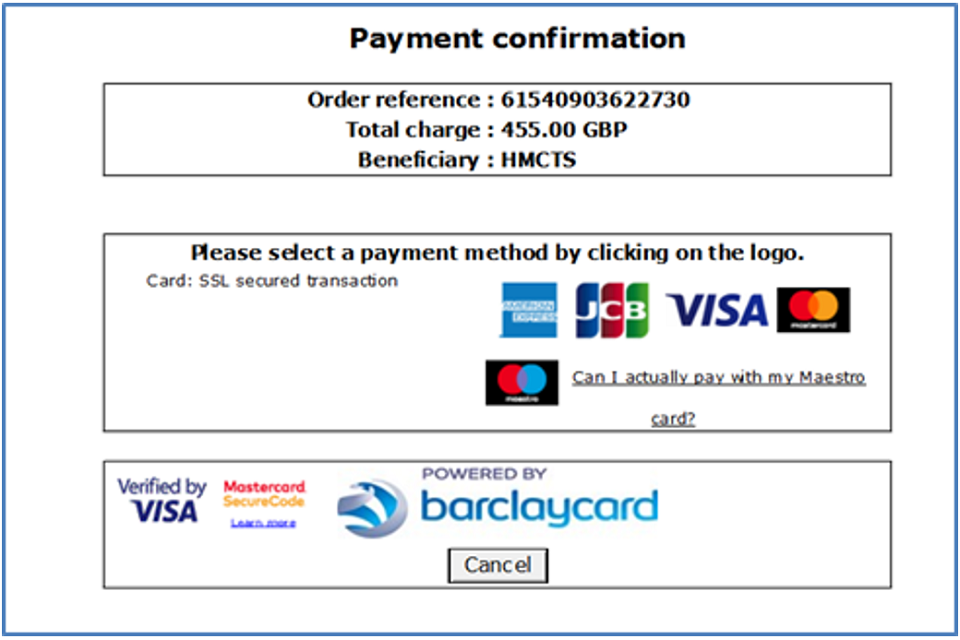
2. Select your card type (for example, Visa). Amex is not accepted.
3. Add the name on the card, your card number, sort code and card verification code (this is the 3-digit number on the back of your card).
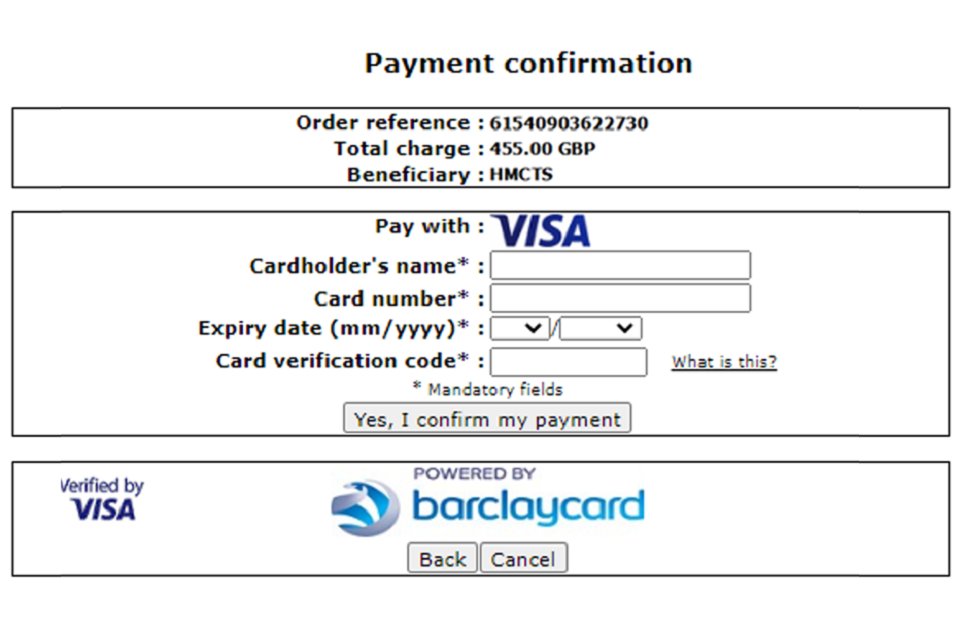
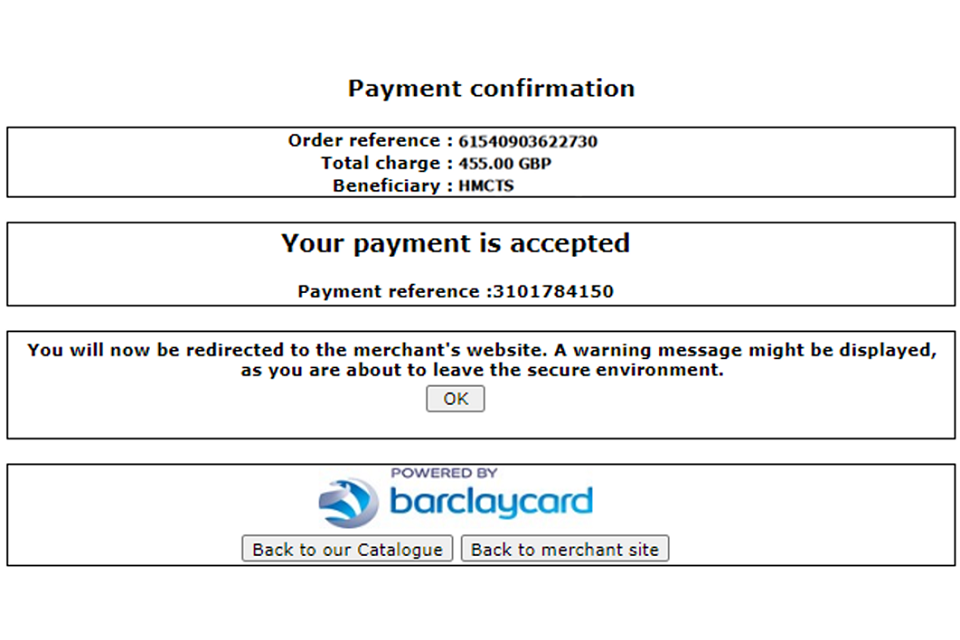
4. You will see a payment confirmation message on E-Filing and will receive an email. Do not select any of the buttons on the payment confirmation page, including ‘OK’ – you will be redirected automatically.
Review your requests and payments
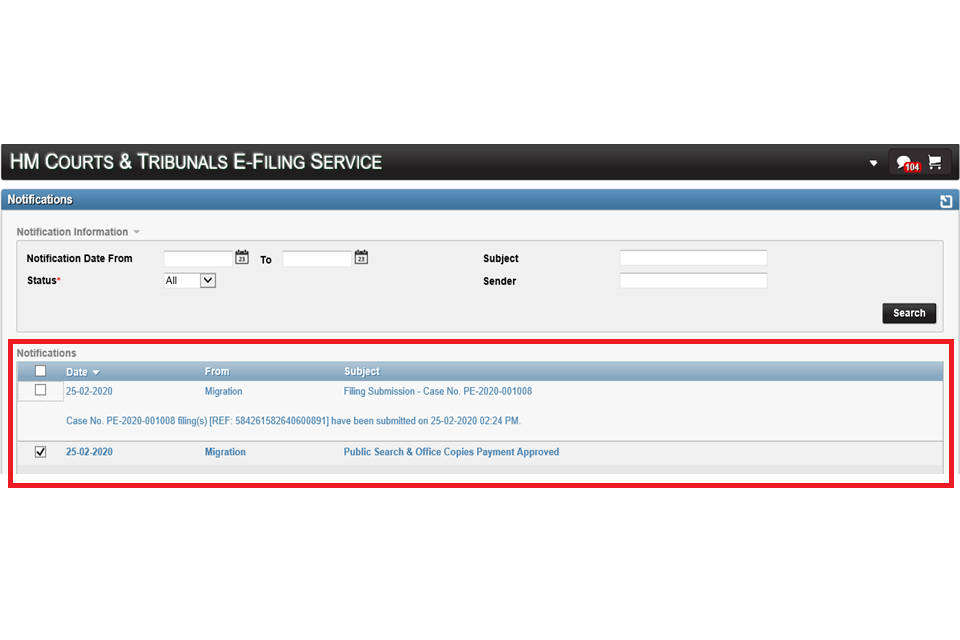
1. To see all your requests and payments, select the notifications (speech bubble) icon and then ‘View All’. A screen will load with the notifications in a list.
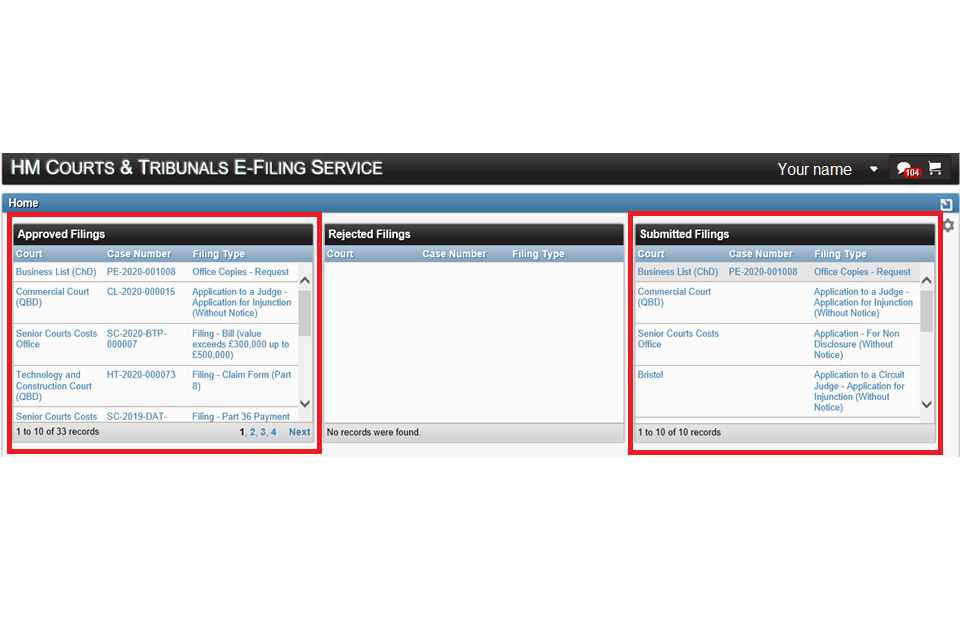
2. You can also see your filing requests in the ‘Submitted Filings’ window on your dashboard. When the court approves your filing, they will send you an approval email. Your filing will then appear in the ‘Approved Filings’ window on your dashboard.
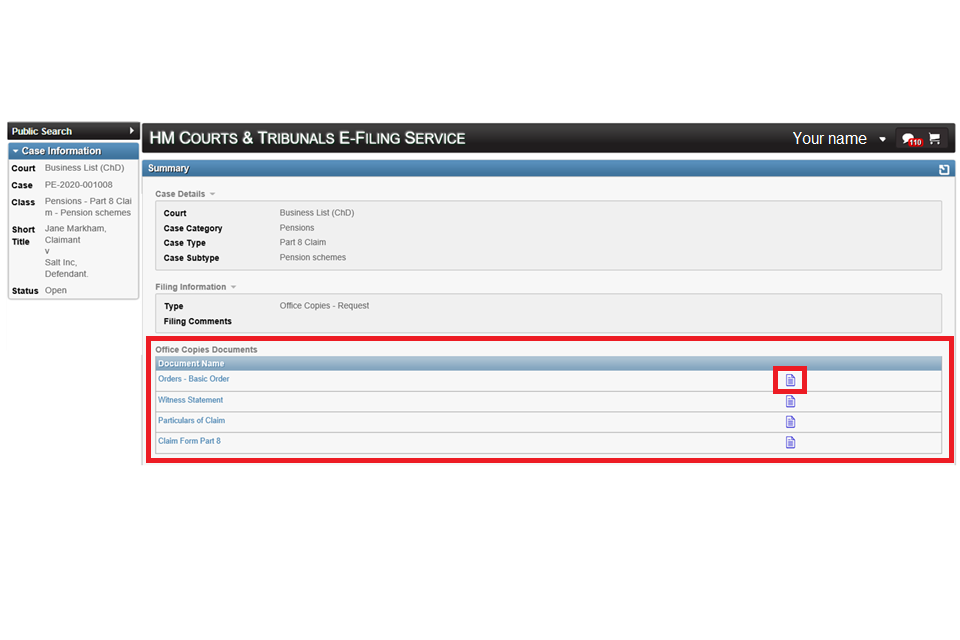
3. To view a summary of your request, select the ‘Office Copies – Request’ link in the Filing Type column.
4. A screen will load showing you a list of the office copy documents. To view a document, click on the blue document icon at the end of the document’s row.
Print a document
1. You can print your filing as a PDF. Sometimes the PDF is larger than a standard A4 sheet, even though it fits on the preview. Select ‘Fit’ on the print options screen to make sure you print all the information.
